Canine ear health remains one of the most delicate aspects of pet ownership, as the unique L-shaped structure of a dog’s ear canal traps debris and moisture far more easily than the human ear. While diligent owners often attempt to maintain hygiene at home to prevent uncomfortable infections, well-meaning efforts frequently lead to irritation or exacerbated conditions due to improper techniques. Understanding the biological nuances of the canine ear allows for a safer approach to grooming, transforming a potentially stressful or harmful experience into a routine that supports long-term comfort and health.
Using Cotton Swabs Deep in the Canal
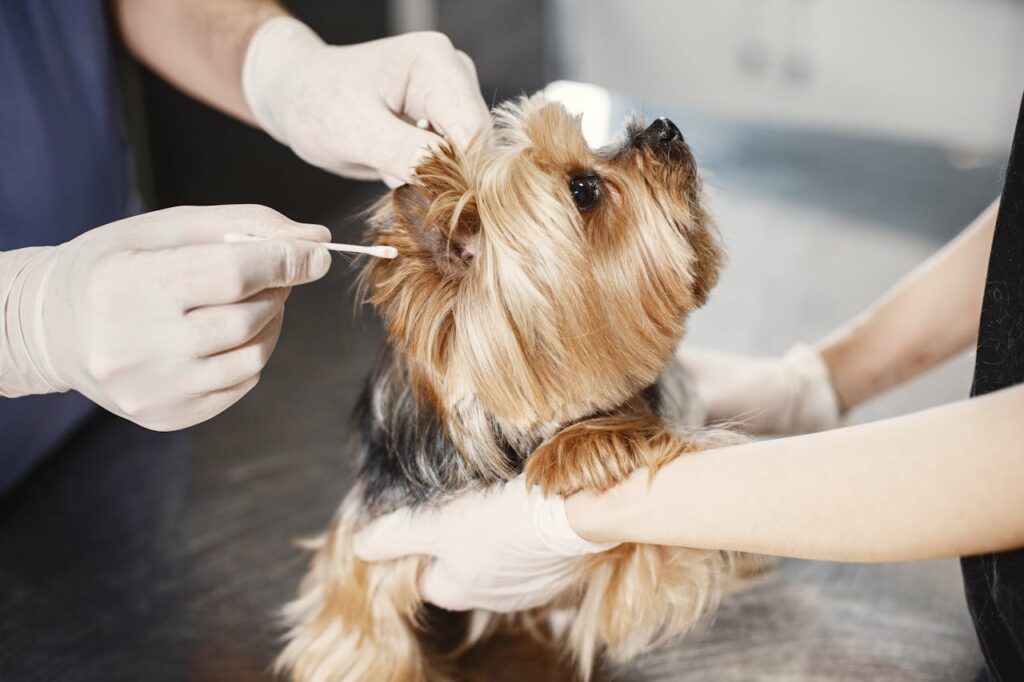
Although cotton swabs appear to be the perfect size for a dog’s ear, inserting them into the canal often pushes wax and debris further down toward the eardrum rather than removing it effectively. This impaction creates a dense plug that traps bacteria and yeast against the delicate tympanic membrane, turning a minor hygiene issue into a serious medical concern requiring professional flushing. Veterinarians consistently warn that the rigid plastic or paper stick can also cause sudden, painful injury if the dog jerks its head unexpectedly during the process. A safer method involves using a saturated cotton ball or gauze square to gently wipe only the visible crevices of the outer ear flap.
Reaching for Hydrogen Peroxide or Alcohol
Many household medicine cabinets contain hydrogen peroxide or rubbing alcohol, yet applying these harsh solutions to sensitive ear tissue causes significant stinging, inflammation, and cellular damage. These substances destroy healthy tissue alongside bacteria and stripping the ear of natural protective oils, leaving the skin dry, cracked, and far more susceptible to secondary infections. The fizzing sensation of peroxide can also be terrifying for a nervous animal, creating a negative association with grooming that lasts for years. Specialized veterinary ear cleaners are pH-balanced and formulated to lift wax and debris gently without causing chemical burns or excessive dryness.
Cleaning on a Strict Daily Schedule
Overzealous cleaning often disrupts the delicate microbiome of the ear, washing away healthy enzymes and oils that naturally inhibit the growth of harmful pathogens. Unless a veterinarian has prescribed a specific treatment plan for an active infection, constantly scrubbing a healthy ear can cause mechanical irritation and stimulate the glands to overproduce wax in defense. A healthy ear is typically self-cleaning to a degree, and interference should be reserved for times when there is visible dirt or a mild odor. Monitoring the ears weekly and cleaning only when necessary preserves the natural balance and prevents the irritation that comes from excessive friction.
Flooding the Ear With Plain Water
While water seems like the most neutral cleaning agent available, it lacks the drying properties and ceruminolytics found in dedicated ear cleaning solutions, often leading to trapped moisture in the horizontal canal. Because the canine ear canal creates a warm and dark environment, any residual water that does not evaporate quickly becomes a perfect breeding ground for yeast and bacteria to multiply rapidly. Professional cleaners contain ingredients specifically designed to break down waxy buildup and help the fluid evaporate after the dog shakes its head. Bath time should always be followed by a thorough drying of the ears to ensure no water remains deep inside.
Ignoring the Essential Base Massage
Simply pouring cleaner into the ear and wiping it away fails to address the debris sitting at the bottom of the vertical canal, rendering the cleaning process largely ineffective for deep-seated grime. To truly dislodge stubborn wax and allow the solution to work its way into the horizontal section, one must firmly but gently massage the cartilage at the base of the ear for nearly 30 seconds. This squishing sound indicates that the liquid is moving correctly, breaking up the debris so it can be shaken out by the dog later. skipping this step means the cleaner only treats the surface, leaving the source of potential infection untouched and festering below.
Plucking Ear Hair Without Cause
For years, standard grooming practice involved plucking the hair from inside the ears of breeds like Poodles and Schnauzers, but modern veterinary consensus suggests this often does more harm than good. ripping hair out creates microscopic wounds in the skin barrier, releasing serum that feeds bacteria and causes significant inflammation that makes the ear red and painful. Unless the hair is causing a direct blockage or trapping excessive moisture that leads to chronic infections, leaving it alone or simply trimming it short is the preferred approach. A non-traumatic approach prevents the cycle of inflammation and allows the ear skin to remain intact and resilient against pathogens.
Treating a Red or Painful Ear at Home
Attempting to clean an ear that is already red, inflamed, or smelling foul can cause excruciating pain for the animal and may drive infected material deeper into the canal. these symptoms usually indicate an active infection or a ruptured eardrum, and introducing fluids or manipulating the ear without a diagnosis can cause permanent hearing loss or vestibular damage. When signs of infection appear, the responsible course of action is to seek veterinary intervention for a microscopic evaluation rather than attempting a home remedy. Professional treatment ensures the correct medication is applied and prevents the unnecessary suffering caused by scrubbing raw, infected tissue.
Using Vinegar Mixtures Incorrectly
Home remedies involving vinegar and water are frequently touted as natural alternatives, but incorrect ratios result in highly acidic solutions that burn ulcerated or scratched skin. While the acidity can theoretically create an environment hostile to yeast, getting the concentration wrong can damage the epithelial cells and delay the healing process significantly. Furthermore, vinegar lacks the surfactants necessary to emulsify ear wax, meaning it often flows over the debris without actually removing it from the canal. Commercial cleaners provide a standardized, safe pH level and effective cleaning agents that remove the guesswork and risk associated with mixing unverified solutions in the kitchen.
Failing to Let the Dog Shake
The natural urge for a dog to shake its head vigorously after liquid is introduced to the ear is a critical part of the cleaning mechanism that should be encouraged rather than suppressed. This centrifugal force is what effectively propels the loosened wax and excess liquid out of the deep horizontal canal and up to the outer ear where it can be wiped away. attempting to hold the dog’s head still or wiping immediately prevents this natural ejection, leaving dirty fluid pooled at the bottom of the ear. Taking the cleaning session outdoors or to a bathroom allows the dog to shake freely without worry about the mess, ensuring the ear is emptied effectively.
Neglecting to Dry the Ear Flap
Leaving the ear flap and surrounding fur damp after a cleaning session invites fungal growth and hot spots, particularly in breeds with heavy, floppy ears that restrict airflow. Once the dog has shaken out the excess liquid, a soft, dry towel or cotton ball must be used to thoroughly dry the underside of the pinna and the entrance to the canal. failing to dry this area allows moisture to sit against the skin in a humid environment, potentially causing secondary skin infections on the flap itself. A complete cleaning routine always finishes with a dry ear, ensuring that the hygiene efforts do not inadvertently create a new environment for bacteria to thrive.